


If you have an oven not heating, you can learn how to do a DIY repair to get it working again. Here’s how.
An oven not heating is the worst scenario you can encounter especially if you’re baking for a special occasion or if you are selling your baked goods. But ovens are generally not complicated in terms of operation.
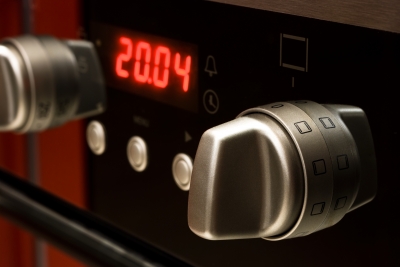
Here is how an oven works: when you set the temperature on your gas oven, the switch sends electricity to the ignitor to light the burner. Older models may have a thermocouple rod that continuously burns the pilot light. While built in and electric ovens (read more about electric oven repair) must only be repaired by a professional gas safe registered engineer, a homeowner can do simple checks and fixes on a gas oven not heating.
If you determine that your gas oven not heating is caused by a faulty thermocouple rod or igniter, you can replace these yourself. Remember that you are working on a gas appliance and must always take the necessary precautions.
Replacing the Ignitor:
- Unplug the oven’s power cord. Access the shut off valve for the gas line located behind the oven and turn it off.
- Remove all the shelves in the oven. Take out the oven bottom and set it aside. Remove the metal flame spreader. You can now see the ignitor and electrical wires.
- Take note of the colors of the wires for the ignitor and the tabs on the switch that they belong to. Use needle nose pliers to pull the metal connectors for each of the wires off the tabs.
- Remove the screws securing the ignitor in place with a screwdriver. Lift and remove the ignitor. Remember to set the screws aside.
- To install the new ignitor, follow the correct colors for the wires and tabs, and place the connectors on the correct tabs. Place the ignitor where you removed the old one and install the screws.
Replacing the thermocouple:
- Repeat steps 1 and 2 above to access the thermocouple and the wire connecting the thermocouple rod and the safety valve. Using a wrench, loosen and detatch the nut at the end of the wire that is attached to the safety valve. The nut is part of the thermocouple and cannot be removed.
- The nut at the thermocouple mount should be loosed and removed. Remove the thermocouple rod by pulling it out of the hole located at the mount from behind it. You should save the nut that you removed here.
- Insert the end of the new thermocouple rod through the same hole, placing the rod beside the burner. Place the nut on the tip of the rod and tighten it.
- Insert the end of the wire to the port on the safety valve. Screw the attached nut securely.
Make sure your reinstall the flame spreader and oven bottom. Turn the gas line on and plug in the oven at the power outlet. Place the shelves inside the oven, close the door and test if your oven is now heating.